Showing posts with label pursemaking. Show all posts

Saturday, December 13, 2014

Vegan (faux) Leather Purses and Totes

As you can see, I've gotten addicted to vegan leather. I work with all colors and all texture. I've broken so many needles that I've lost count, but I enjoy how clean my works are. 
This was a yellow and black trim and strap purse. 

This was a pale pink and brown tote. I used magnetic snaps for the closure and rivets on the straps.

This silhouette was cut from a black faux leather and then sewn to the cream faux leather. The traps were once skinny belts that were cut to length and padded by some of the cream faux leather. 

This technique was a first for me. I did cartes brodee in an Eiffel Tower pattern. I made this into a bucket tote shape and used draw string for closure thru the grommets I installed. 

This slouch style faux leather and ankara purse was one of the first faux leather pieces I did. I also used a recessed zipper for the closure. 

This was another bucket tote that I did with a textured faux leather. The texture was a wood grain pattern. Four grommets and cord allowed me to make the strap. This bucket tote has an oval bottom.

I don't know what you'd call this shape. But it was not the easiest thing to sew along the seams. 


Saturday, November 1, 2014

Pants Upcycled to Pencil Skirt and Slouch Purse

A few months ago, I went shopping and found a pair of Capri pants that were gorgeous (see below). I loved the brocade fabric in silver and black. Unfortunately the tag was 18 and would be much larger than I wore. I bought them anyway because they were on clearance for less than $5 and I figured I could try my hand at alterations and take them in. I brought them home and set them aside for a couple of months without touching them. Then a couple of weeks ago, I pull it out to get to work and noticed that my size 18 were actually size 8.

Thanks to this wonderful tutorial by La Vie DIY, I was able to quickly turn my fail purchase into something gorgeous that I can wear. The following are pictures showing my steps. 

Flipped the pants inside out and ripped out the seams along the inseam of the pants. 

Once the seams were ripped, I fold the pants with the sides together making a front and back seat curve easy to cut. 

Here is the cut.

I used a pencil skirt I already owned to determine my length. 

I was surprise to pull the skirt all the way up once I sewed up the sides. But the bottom was too tight to walk. 

I used pieces of a stretch leather fabric to add side panels to make it a bit easier to walk. 

Instead rectangular side panels, I cut a triangle out of the sides of the skirt. Sorry I forgot to take a picture. 

This is after I sewed in the panels.

Here's me trying it on. 

Another view. 

Here's the skirt hung up.  

With the left over fabric from the bottom of the pants, I made a slouch purse with magnetic snaps. 

Final view. 

Thursday, June 26, 2014

Placemat Upcycle Purse Tutorial using two placemats and a belt

Needed: 2 lined placemats,
            1 zipper
            Fabric for pockets
            Magnetic snap

This tutorial is going to be pretty much following the pictures. My mother-in-law retired this month and for her retirement party I wanted to give her a personalized tote. Something she could put her books in during her leisure readings while retired.

I bought two placemats that were lined.

I separated the back and front of the placemats.

Here are the two pieces separated.

The wrong side of the front piece to the placemat was stiffened which made it a lot easier  to do the embroidery.

I used my Brother SE400 to embroider her first and last initials onto the right side of the placemat front.

On one of the wrong sides, I put in a side zipper pocket

On the second placemat's wrong side, I put in a side pocket.

This is the zipper side shown with the belt that became the handles for the tote.

Below the zipper pocket, I put in a smaller pocket and 3 pen holders.

I split the pocket to give her extra storage.

Sew the two lining pieces right sides together and square off the bottom. At this point, I also went ahead and installed the magnetic snaps for closing the main bag.

Sew on the handles to the right side of the placemat pieces.

Sew the outer part of the placemat right sides together like the lining and square off the bottom. Cut off the excess fabric.


Flip the outer bag right side out

Place the outer bag into the lining bag which is wrong side out. This way both of the right sides are facing each other.

 
Sew all around the lip of the bags leaving yourself about 4 to 6 inches for turning the tote right side out. Top stitch the bag lip all around closing your turning hole and you're done.

Here is the finished insides.
Here is her completed tote. 

Friday, May 16, 2014

Wedding Picture purse

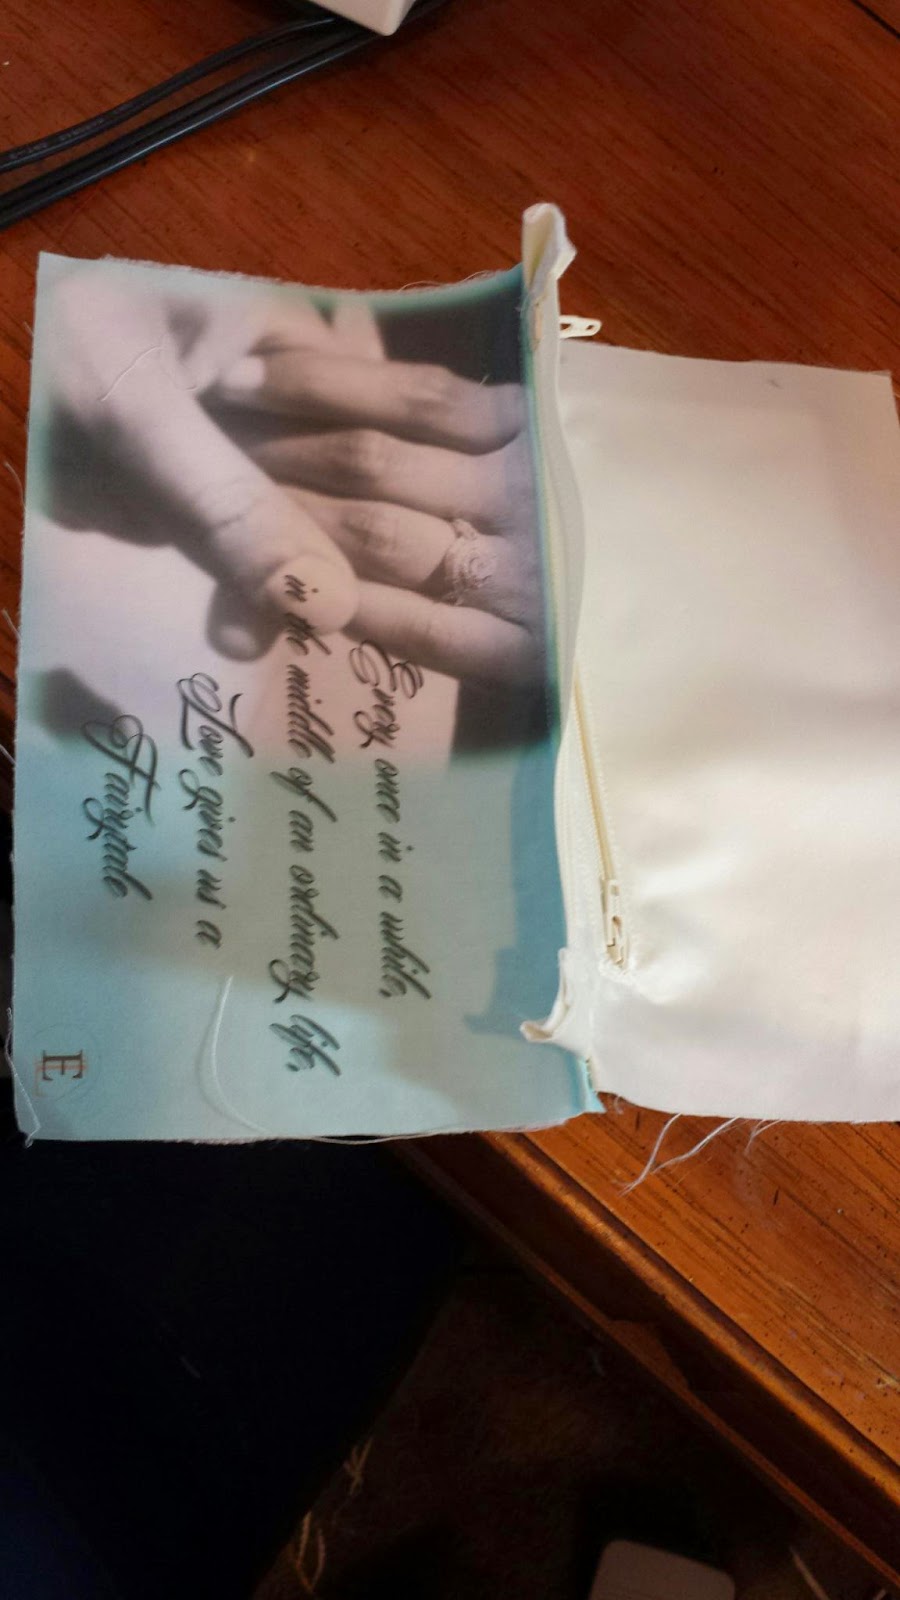
My friend got married a couple of weeks ago. I remember how nice it was a to have purse on my wedding day and wanted to do something for her, but I wanted it to be very special to her. I called her fiance (my other friend) and asked him to send me a picture that had he and her daughters. Then I went to their FB and got the picture they'd posted from their engagement seen below.  I used Photoshop to put together the images and print them. One side was the below picture and the other side had the picture he sent me. 
As you can see, the lining has the printing and the satin ivory is 


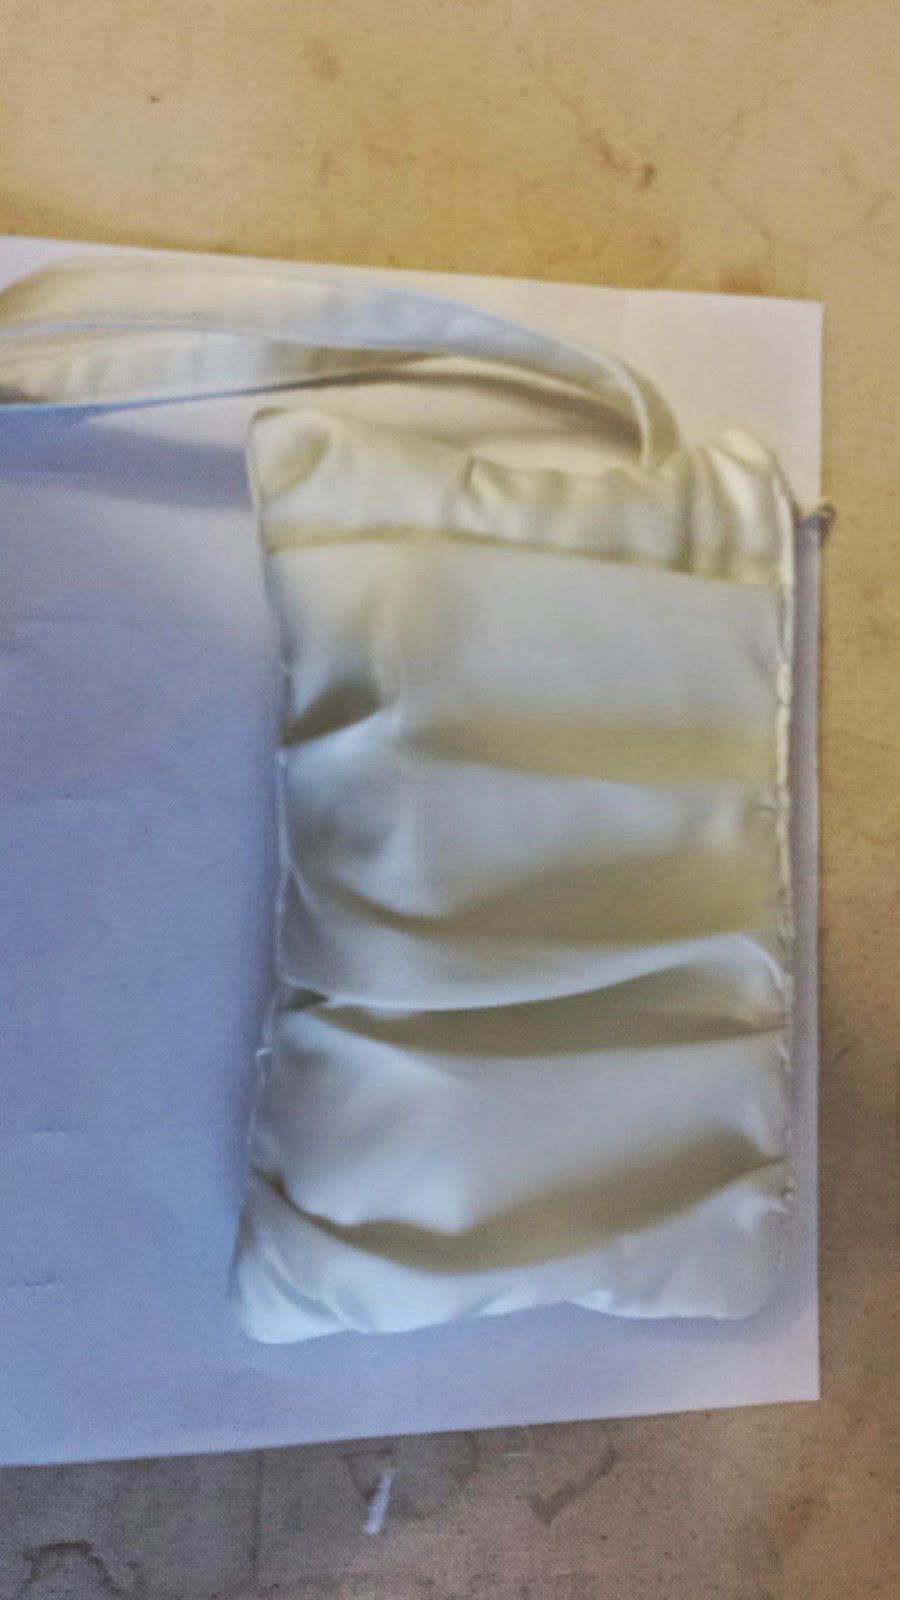
I decided to put pockets on the outside so that she could put

Her dress was a ruched ivory gown so I ruched the front of the purse.

Inside on the zippered pocket side was the engagement ring and a nice quote I found online. 

On the other side was the picture of her loves. 

You can almost see the wristlet in her left hand. It matched her dress so incredibly. Her mom actually carried the purse through most of the wedding so it was very handy. My friend loved it and it was one of the best gift I've ever given someone. 


Tuesday, April 22, 2014

More than just another fold and sew placemat purse

Thanks to many pioneers, I've fallen in love with placemat purse making. I, however, quickly got bored with the simple fold and sew. I started challenging myself to make purses that one would be hard pressed to identify the placemats in the purse.
I just completed this white vegan leather placemat purse that really challenged me. I wanted to put in zipper, but did not want to lose the integrity of the placemat. I ended using new techniques and even getting a rivet set for the vinyl.

Currently, I'm working on another one that I'm still trying to work my head around. 
Meanwhile, here are a few more. 
 Scalloped beaded placemat using zipper as closure.

 This used two round placemats  and gusset to achieve the look.
This was also two placemats used along with a vegan leather piece for the flap.