Showing posts with label purse tutorial. Show all posts

Thursday, June 26, 2014

Placemat Upcycle Purse Tutorial using two placemats and a belt

Needed: 2 lined placemats,
            1 zipper
            Fabric for pockets
            Magnetic snap

This tutorial is going to be pretty much following the pictures. My mother-in-law retired this month and for her retirement party I wanted to give her a personalized tote. Something she could put her books in during her leisure readings while retired.

I bought two placemats that were lined.

I separated the back and front of the placemats.

Here are the two pieces separated.

The wrong side of the front piece to the placemat was stiffened which made it a lot easier  to do the embroidery.

I used my Brother SE400 to embroider her first and last initials onto the right side of the placemat front.

On one of the wrong sides, I put in a side zipper pocket

On the second placemat's wrong side, I put in a side pocket.

This is the zipper side shown with the belt that became the handles for the tote.

Below the zipper pocket, I put in a smaller pocket and 3 pen holders.

I split the pocket to give her extra storage.

Sew the two lining pieces right sides together and square off the bottom. At this point, I also went ahead and installed the magnetic snaps for closing the main bag.

Sew on the handles to the right side of the placemat pieces.

Sew the outer part of the placemat right sides together like the lining and square off the bottom. Cut off the excess fabric.


Flip the outer bag right side out

Place the outer bag into the lining bag which is wrong side out. This way both of the right sides are facing each other.

 
Sew all around the lip of the bags leaving yourself about 4 to 6 inches for turning the tote right side out. Top stitch the bag lip all around closing your turning hole and you're done.

Here is the finished insides.
Here is her completed tote. 

Friday, May 16, 2014

Wedding Picture purse

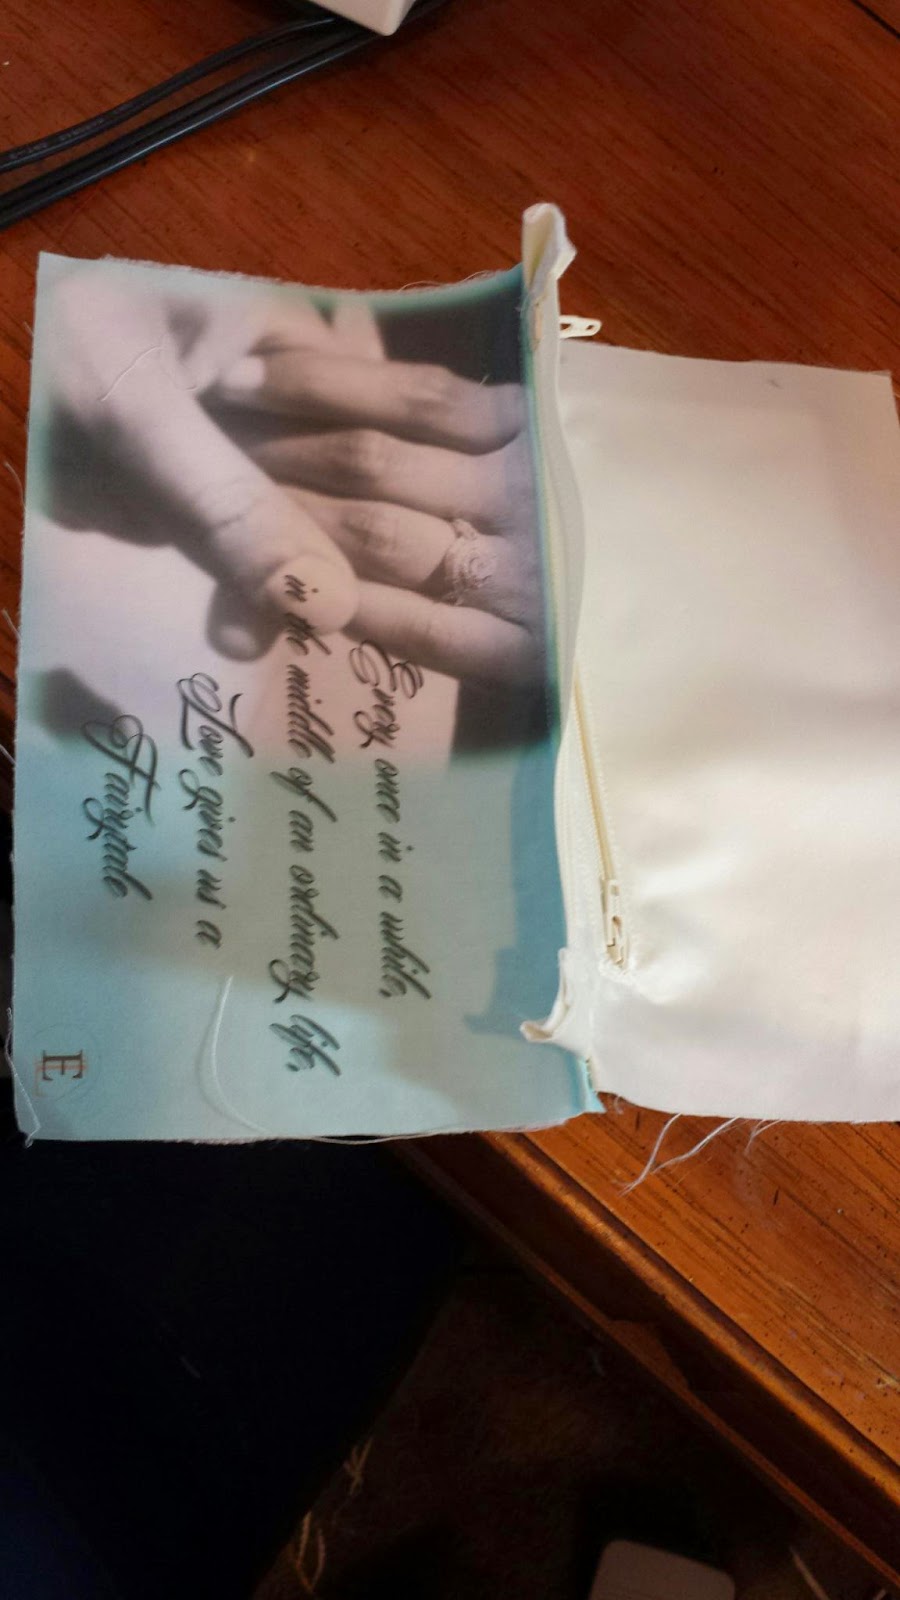
My friend got married a couple of weeks ago. I remember how nice it was a to have purse on my wedding day and wanted to do something for her, but I wanted it to be very special to her. I called her fiance (my other friend) and asked him to send me a picture that had he and her daughters. Then I went to their FB and got the picture they'd posted from their engagement seen below.  I used Photoshop to put together the images and print them. One side was the below picture and the other side had the picture he sent me. 
As you can see, the lining has the printing and the satin ivory is 


I decided to put pockets on the outside so that she could put

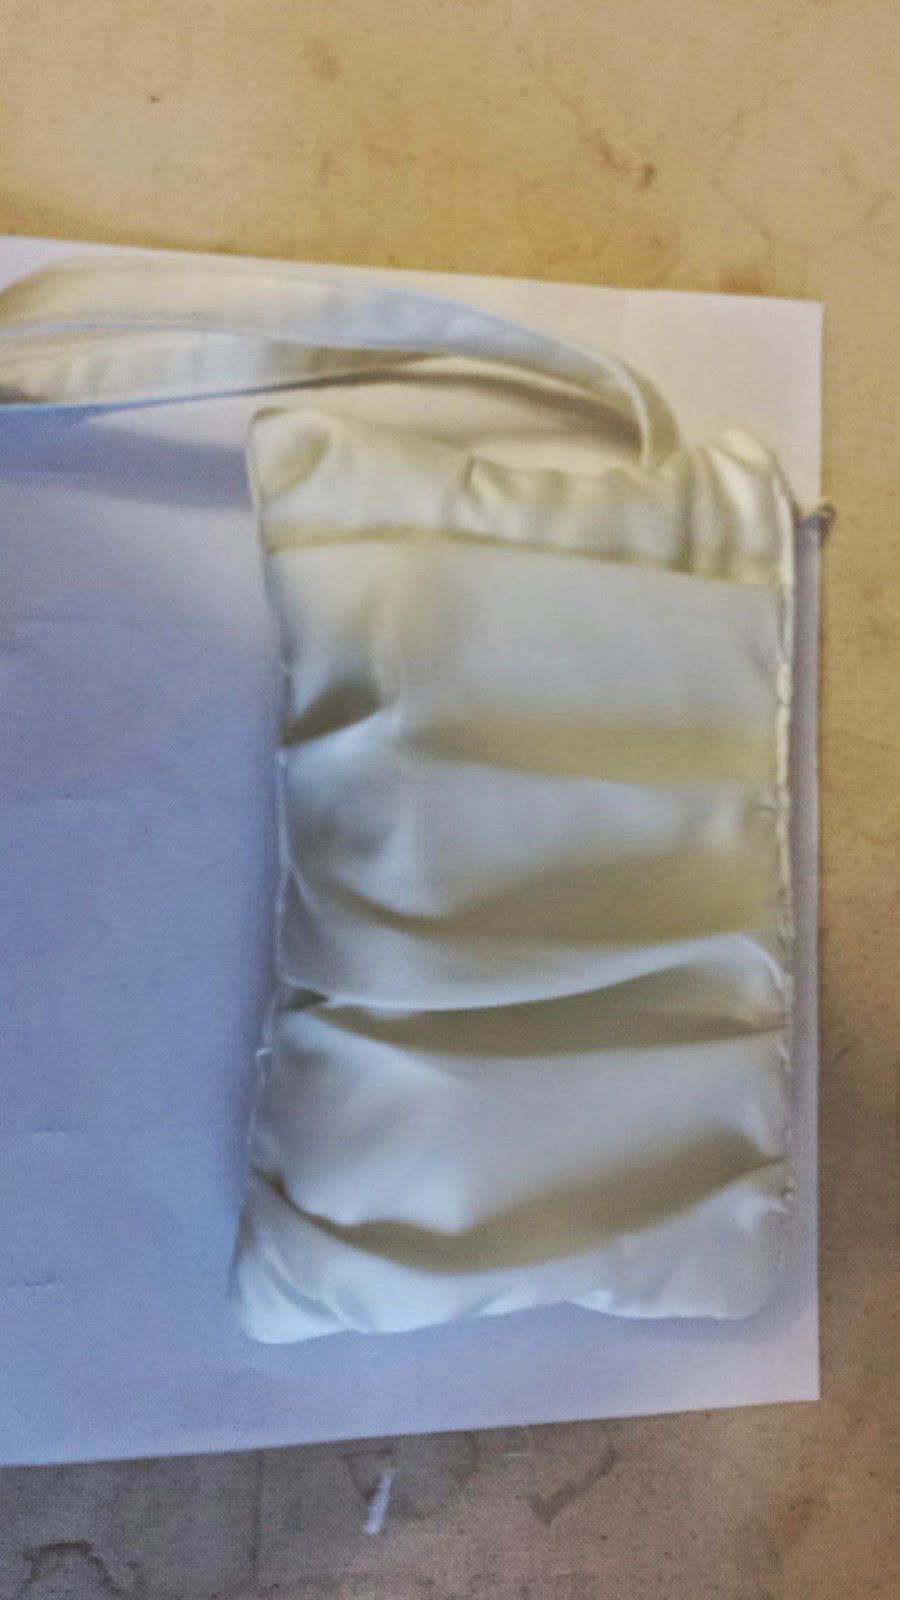
Her dress was a ruched ivory gown so I ruched the front of the purse.

Inside on the zippered pocket side was the engagement ring and a nice quote I found online. 

On the other side was the picture of her loves. 

You can almost see the wristlet in her left hand. It matched her dress so incredibly. Her mom actually carried the purse through most of the wedding so it was very handy. My friend loved it and it was one of the best gift I've ever given someone. 


Monday, March 17, 2014

African Inspired Placemat Purse Tutorial

Materials used: 1 full placemat, 1.5" cut of another placemat to use for handle, 2 fat quarters 18x21" for the lining, about 10x12" piece of fabric for your flap cover (basically needs to be wide enough to span the width of the bag and long enough to flap over opening and part way down the purse and heavy Pellon interface that same size. You'll also need a closure piece. I used magnetic snaps. 

This placemat is a plastic material that have a woven feel to it. It came 4 in the pack and that allowed me to use one of the for the handle.

Fold in half and sew with half inch seams. I used my heavy duty needle and had the stitch length at 3 just like I'd normally do with leather like material. After you've got a flat pouch, square the bottom for about 2 inches. To square the bottom of the bag, you simply create a triangle with base that is 2 times the height.

  Before folding and sewing the right sides of the lining together, you'll want to make your pocket. At this point I also put my label.

 Sew the sides of the lining and square the bottom with the exact same dimensions as the outer bag. This is where I made a mistake. I should have made my lining and additional .5 inch so that when I flipped things out, it would sit on the bottom. Because the placemat is stiffer, I wanted to use the lining also as a basting to purse opening. To avoid scratches and to frame the purse. Before sewing that tho, I had to install the magnetic clasp to the flap and the body of the purse.

with the pieces of the flap put together (basically iron the facing to the covering fabric, install the snap to the lining and sew the lining to the front piece as seen below.

 Without sewing yet, pin the flap to the purse and fold over to mark where you want the snap to close. Once you've determine where your snaps will be, leave some pins as markers for when you're ready to sew the flap on.

 Sew the flap snipping off a triangle a the back end of each said. Flip inside out and steam iron into shape.

Now you can sew your lining  and flip around. I prefer to leave the opening at the top and just sew around the edge to hide my opening.

Completed lined purse bottom. This little bit used as a faux bias for the mouth of the purse ends up with the lining sitting higher in the purse. If I'd made the lining longer, it would have sat on the bottom.

 Realign the purse flap to the pin markers you had and sew in place.

I chose to put a bias on the placemat piece for the handle so that the handle would stand out.

 Sew down the handle to the purse and you're done.

Final product. The matching dress blog is coming up.